
Categories
- Decisions & Planning (1)
- Foundation (4)
- Framing (1)
- Insulation (1)
- Subfloor (3)
- Tiny Living (1)
- Trailer (4)
- Uncategorized (3)

Posted on March 6, 2015
After having starting construction on my tiny house subfloor, I was experiencing a builder’s high. Being it as I had never built a structure of any kind (besides the occasional blanket fort as a kid), and seeing that we had created something tangible and seemingly legitimate, the experience began to feel somewhat surreal. Like cells – dividing, growing, changing – the structure was beginning to take shape and feel notably different than just the “trailer” that had sat on the property for the six months prior. This was really happening.
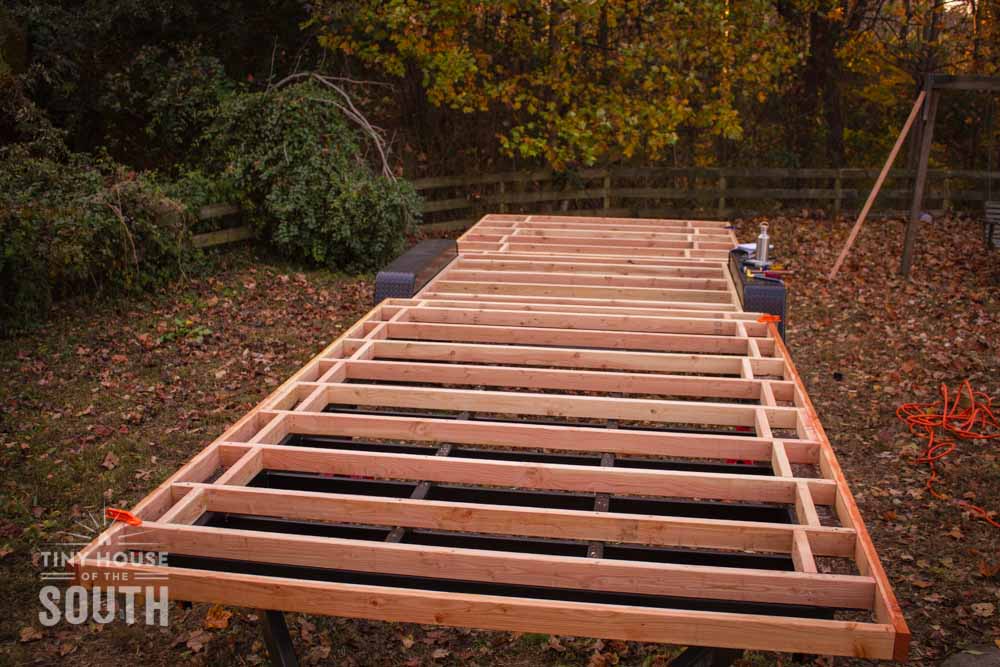
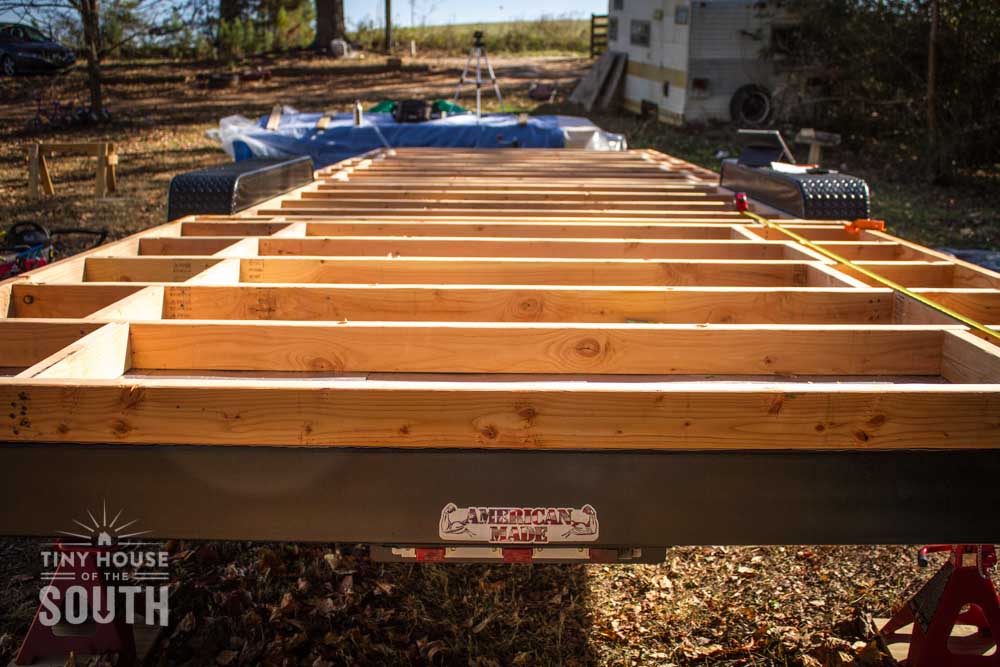
The next step in the process involved the attachment of metal flashing to the bottom of the subfloor framing. This “flashing” actually would serve as a proper “pan” that would somewhat seal the bottom side of the floor, supporting the insulation and protecting it from insects, pests and moisture from below. The flashing we decided to use would not rust – it was made of aluminum that had been pressed into long thin sheets that we would roll out in long strips, overlapping subsequent pieces 4 inches, and stapling them to the top of the framing. Once the flashing was installed, we would have to flip the floor framing (so the flashing would be on the bottom of the floor) and affix it to the metal trailer. This is why we chose to build the subfloor framing in 3 separate sections: front, back, center: for ease of flip.
Installing the aluminum flashing in such a way with only staples meant that there was no air-tight seal, but that was intentional. Although the seams between sheets were overlapped, the incomplete seal would allow water to drain out during the build if somehow rain infiltrated the floor. Once the shell of the house was complete, with roof intact and walls protected, I would crawl under the house and seal those seams with aluminum flashing tape, just for the extra assurance that I would not have any unwelcome critters somehow burrow and take shelter within our floor. Not a fun thought.
Here’s a timelapse of us completing the flashing (please subscribe!)
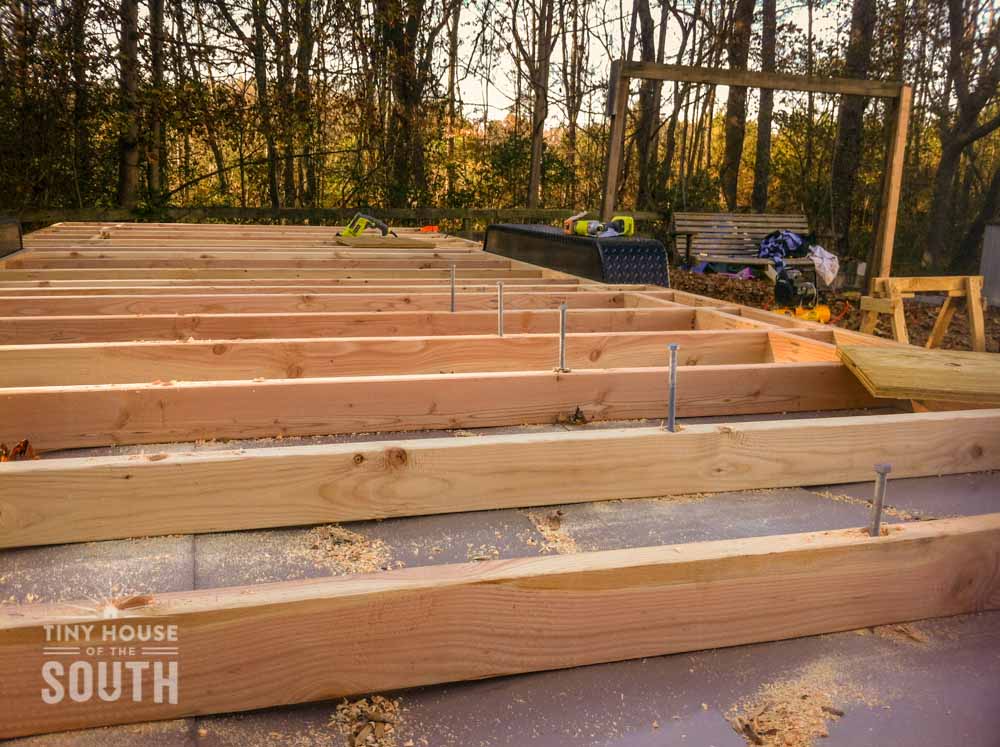
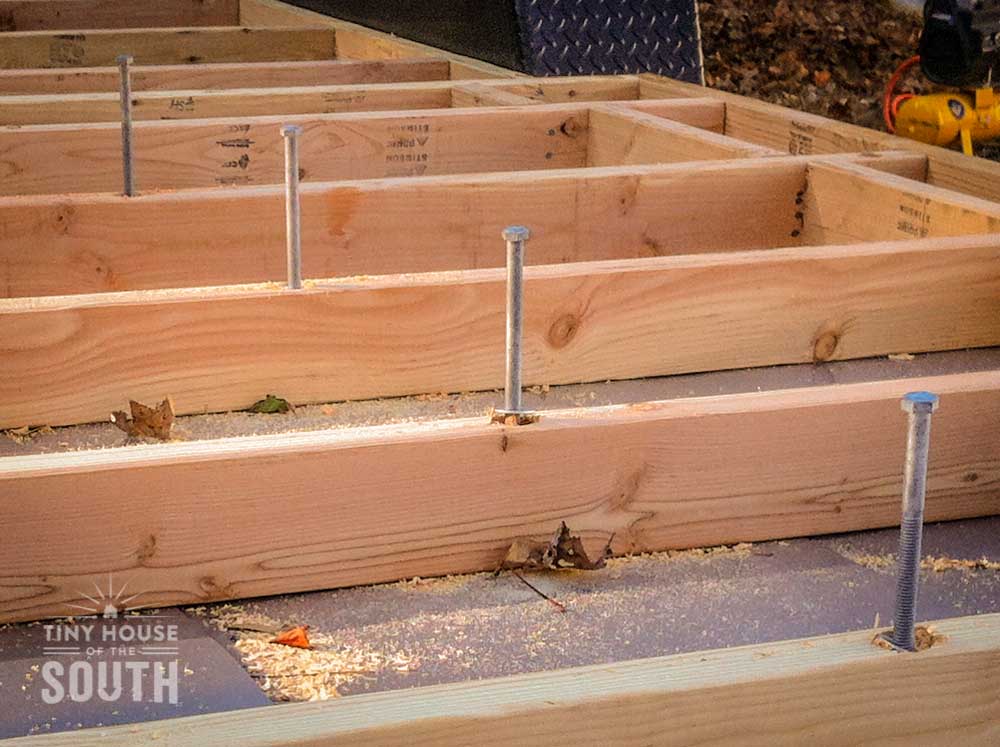
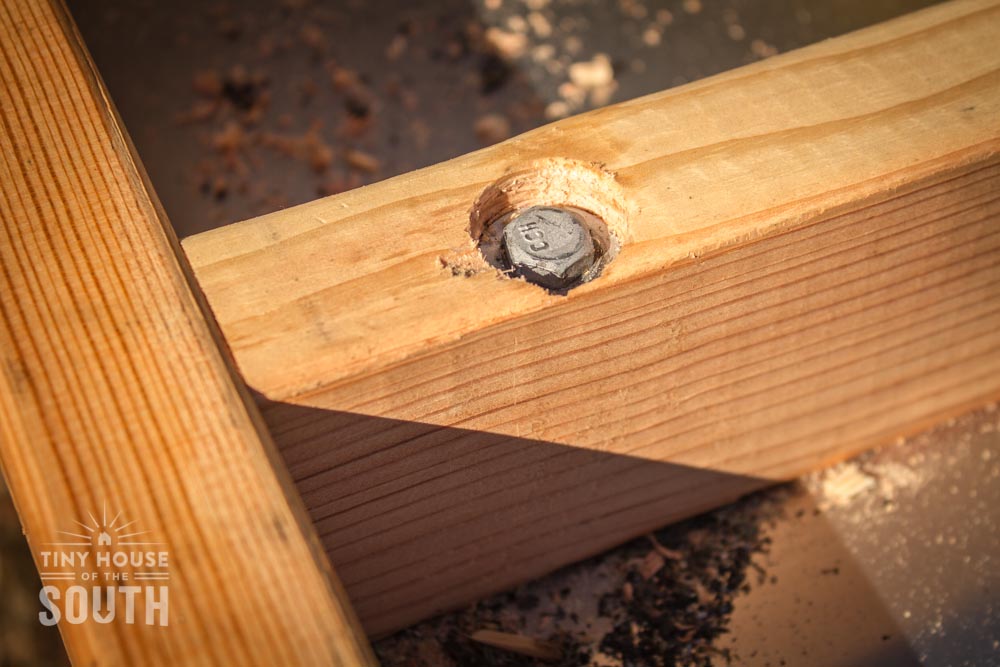
Given that a tiny house is mobile and we would occasionally need to move our home to new destinations, we would need to make sure that the house wouldn’t slide right off the trailer foundation and into the front seat of some poor motorist. This process was three-fold and involved drilling 64 (yes, you read it – SIXTY-FOUR!!) holes through the metal trailer beams (which we actually did before we installed flashing), drilling matching holes through the wood framing, and then planting long, galvanized hex-head lag bolts that would marry the connections. Almost every floor joist was connected to the trailer at four places – two bolts in the flanges at the sides and one bolt in each of the two metal trailer beams that ran perpendicular to the floor framing. Since the lag bolts were inserted into the wood framing from above, we also had to countersink the heads by using a hole saw to create a 1″ish openings for the bolts to sit in, and then finish each off with washers and nuts. This job was INTENSE, and made me super thankful I had a couple of muscle-laden guys around to help, as every hole required MASSIVE downward pressure for extended periods of time. Helpful tip on drilling through metal: use a little machine oil on your bit to help make the drilling easier/faster!
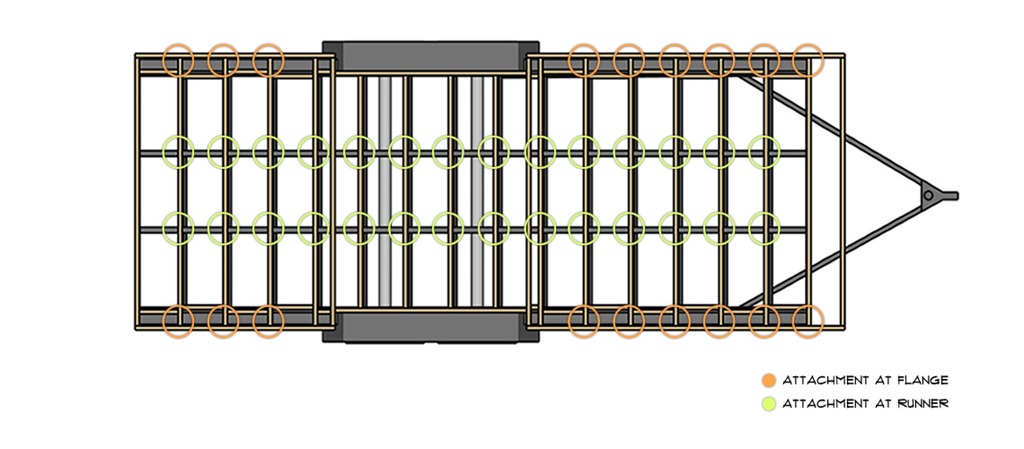
20 foot trailer diagram with connection points (similar to ours). Credit: Tiny Home Builders


Recent Comments